Time Needed: 15-20 minutes a day
Who & How: Whole Class or Individual
Visual Learning
-
Visual Learning is Instant: Remember that when learning visually, children’s brains will snap a picture of the SnapWords® and store it in memory. The significance of this is that children won’t need many exposures to the stylized word. One to three exposures will usually do the trick!
-
Teach with the Goal in Mind: The goal when teaching SnapWords® is to get children to recognize plain words as soon as possible. The significance of this is that children will need to see SnapWords® pictures 1-3 times and then you will turn the cards over so they can read plain words. If you follow these steps, the use of stylized words is very temporary.
-
Remember to Show, not Tell: If you have turned a word over to the plain side and a child hesitates, don’t tell them the word, either do the body motion or briefly turn the card over to the picture side and ask them to look at the picture again.
How to Teach
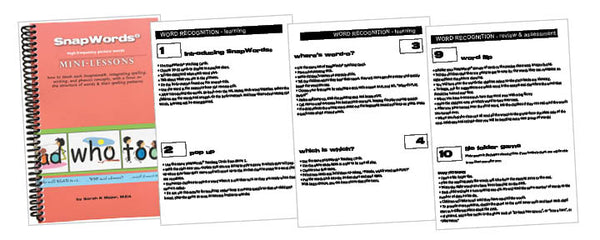
1. Find your book, SnapWords® Mini-Lessons, and turn to Section A – page 5.
2. Start with List A, Level 1. You can find these words by leafing through
SnapWords® List A and finding the green dots that have the number 1 in the bottom right corner. These words are all very small and most have short vowel sounds.
3. Gather the whole class on a rug and sit on a chair in front of them. Use a pocket chart hanging at their eye level and arrange all 12 words in the chart. The significance of grouping the whole class near you is that their focus will increase. Children who are far away from the teacher will have more opportunities for distraction. When they are close to you and what they are learning, their focus will improve, and you will be able to track efficiently who is with you and who has possibly tuned out. Children who need more support should be sitting right in front, closest to you.

4. On day one, introduce the words by pointing to one word at a time, telling the class what each word says before they have a chance to guess, and possibly guess incorrectly. Once a child has absorbed the image while hearing themselves say the wrong word, that incorrect word can become stuck in their memory. This can make it difficult later on to replace that first impression with the right word. Talk briefly about what the pictures show and give the children time to study the details in the pictures, but keep the process moving. For instance, you would point to BY and say, “This word says BY. Notice that the girl is standing right BY the blue door.” At this point, information is going from teacher to students. You will scan the “crowd”, noticing who is with you, and move the children who are distracted to the front, or engage them by asking what they notice. Keep the pace going.

5. Day two, go through the words again, reading each word together. This time read the sentence on the back of the cards and do the body motions together, one word at a time. Now, learning is a joint effort involving both teacher and students. (If you have the time, go on to do the activity for day three.)
6. Day three, play the game “Pop Up” from page 162. This game will give each child a chance to identify words. If you have time, you could play “Where’s Word-O?” or “Which is Which?” on page 163. The purpose of these games is to shift the learning process to students, to pull out or stimulate them to think about what they know. Information is flowing from students to teacher.

7. Day four, go to activity 9, “Word Flip”, on page 166. This day is super important! You are transitioning the children smoothly, at their pace, from picture words to plain words. It is so important to follow this procedure in order to finish the learning cycle for your kiddos. It is important to have a close relationship between the picture word and the plain word, showing the picture, then the plain word so they are closely related in the child’s mind. Once you have turned all the words over, if a child hesitates with a word, simply do the body motion for the word without saying anything. If they still hesitate, flash the image side again.
8.Teach the words. Once children can read the group of words, start going through SnapWords® Mini-Lessons, teaching each word or pairs of words. For instance, on page 7, A and AT could be taught in tandem just fine. All of this depends on your class and their ability to focus for 15 minutes or so. The lessons are short, should keep moving, and are effective at teaching reading, writing, spelling, comprehension, and phonics.
9. After teaching Level 1, post that group of words on the word wall in ABC order and start with Level 2.
Begin the Breakthrough
Final Words
"When I was in the classroom, I used SnapWords® for all my students. I did not reserve them for use with only those children who struggled to learn to read or for whom reading was tedious. I also taught all the words to all the students, not feeling I had to limit the children to the required list of words. What I found was that using SnapWords® with the whole class saved a lot of teaching time, brought the children together as peers, helped them quickly learn to help each other, and for those children who would have learned to read easily, SnapWords® made learning to read engaging and helped them with comprehension."
- Sarah K Major, M.Ed.
Customer Review
"I love the flash cards and my 5-year-old daughter has learned very quickly. She wasn't with regular flash cards and I was told her attention span was too short. Not the case. Not only is my daughter learning but with your flash cards she went from not being able to recognize words such as "is" and "an" but in just 3 weeks she is now recognizing all of the level A words and is working on the level B words. She is also spelling without looking at her flash cards 30 of those words!"


Leave a comment